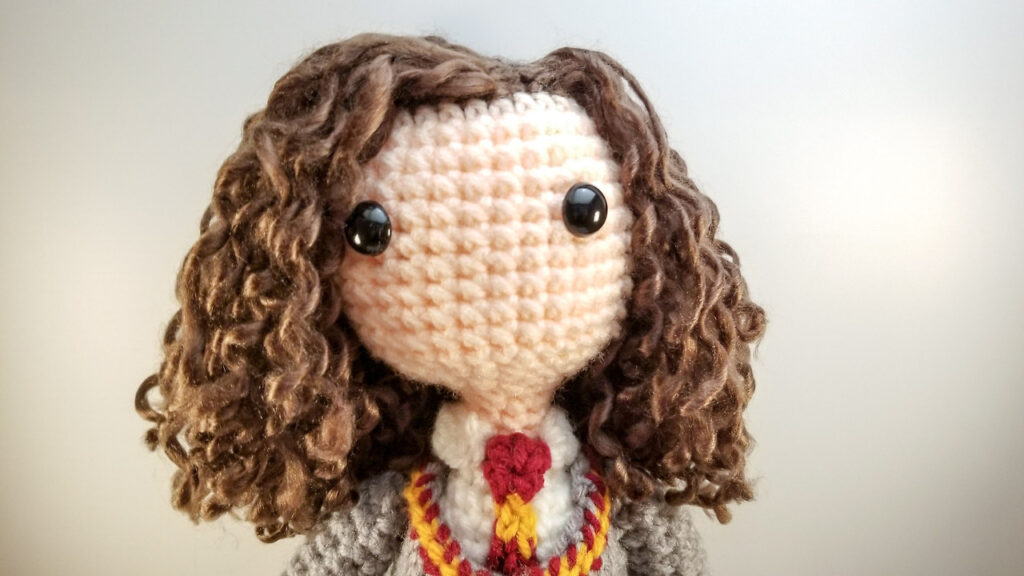
In Part 2 of my hair series, I’m talking about curls. Gentle wavy curls, and full on curls. As I said in my last post, as long as we’re all self-quarantined at home, we may as well spend some time doll making!
My go-to yarn for hair for bigger dolls is Lion Brand Yarn Hometown USA. This is a thick yarn that’s still 100% acrylic so you can shape it well. You’ll want a weight of 6 – Super Bulky. You can use a normal weight yarn, as long as it’s 100% acrylic, but you won’t get the same fullness. I’ll still show you an example at the end of the post.
Wavy Hair
Before we dive into the CURL curls, let’s talk wavy hair. Sometimes you don’t want full curls to get the look you want. In a lot of ways, this is the easiest way to create hair. It doesn’t even need any heat!
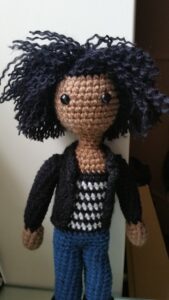
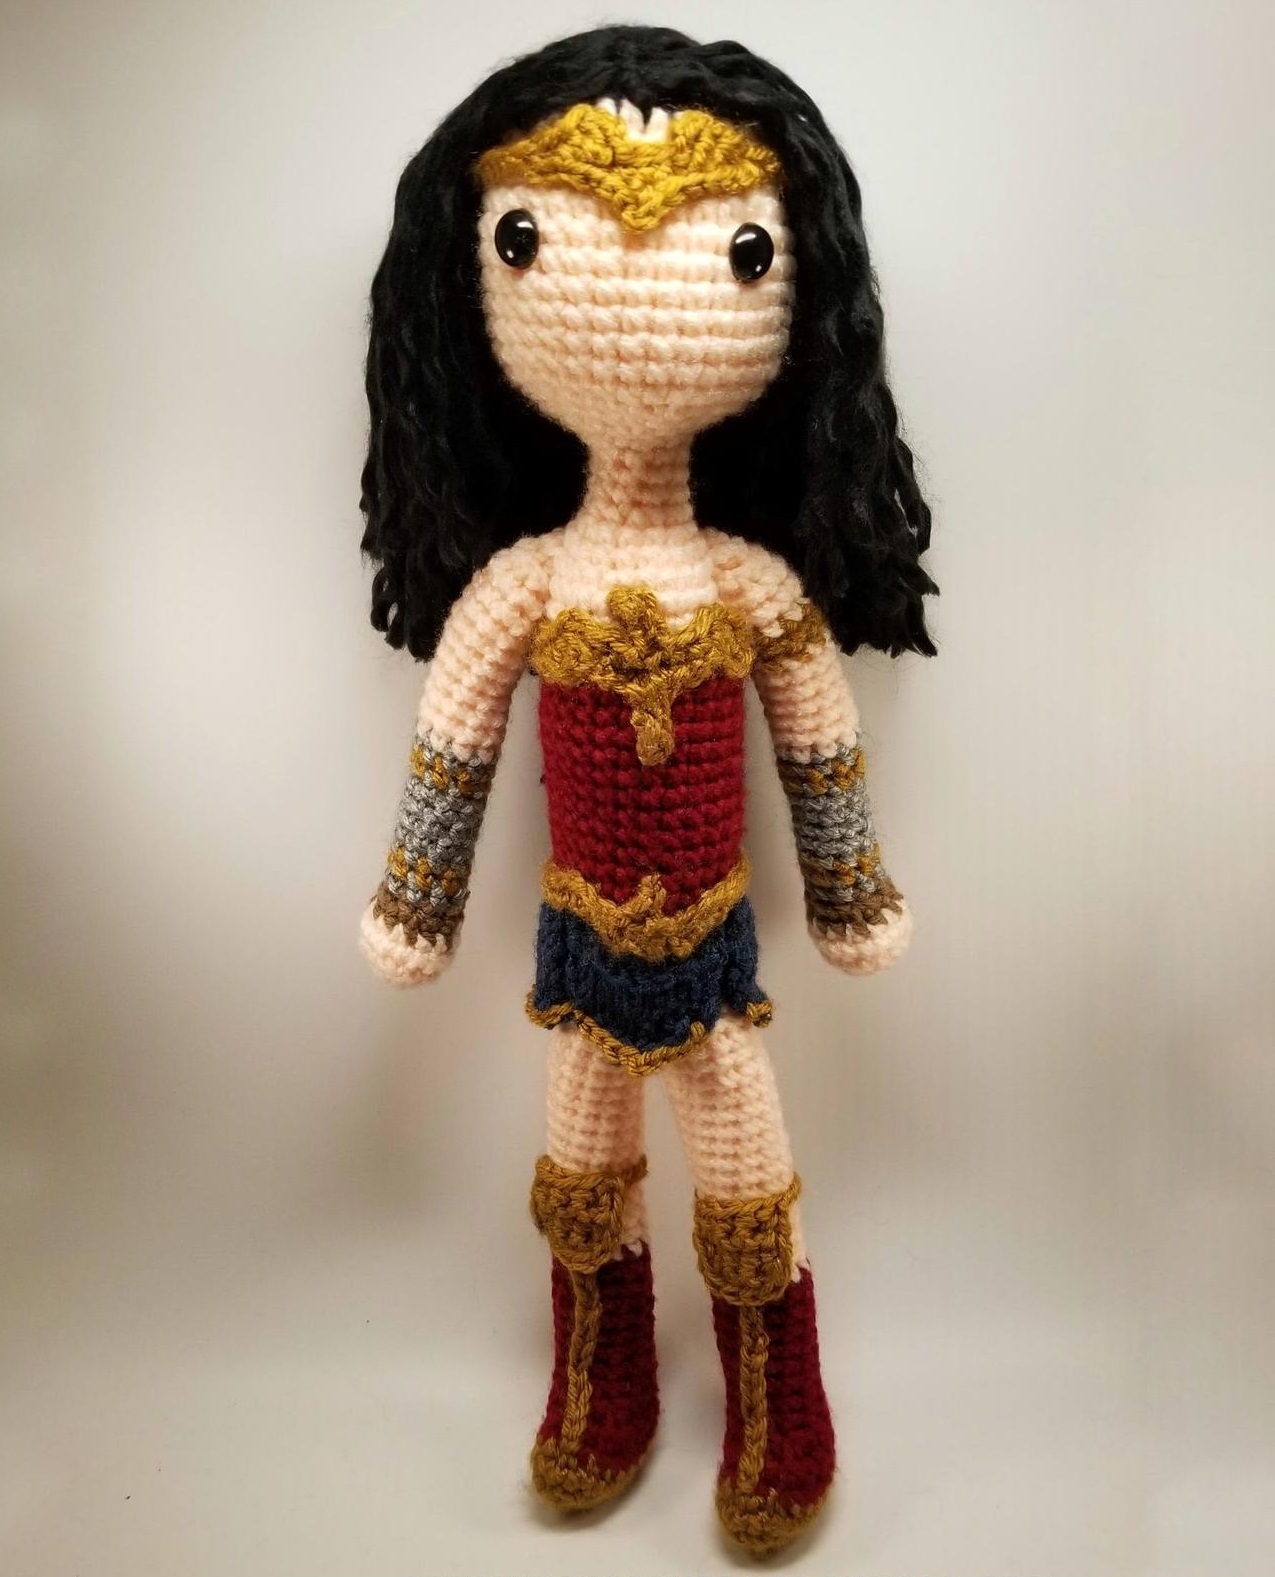
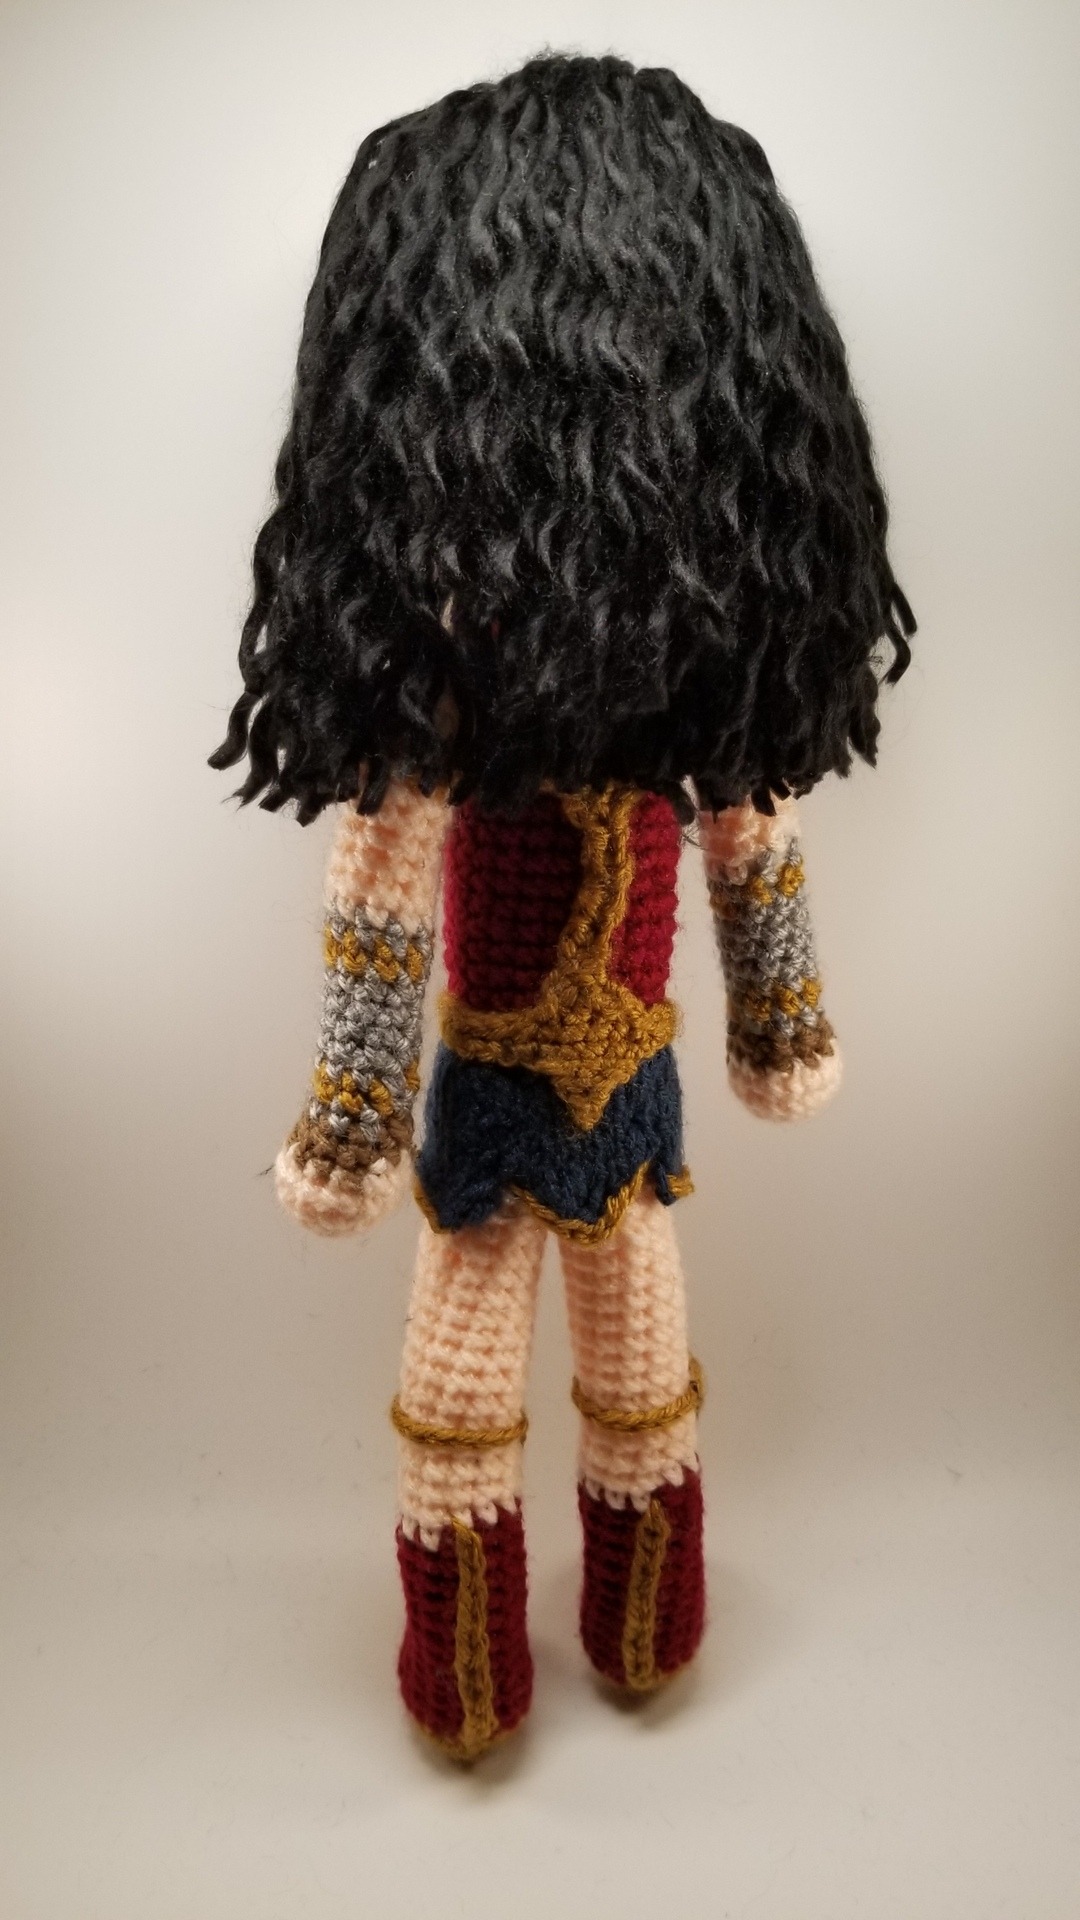
When you pull your thick yarn into strands, and it will appear wavy with gentle curls. See some examples of my wavy hair dolls made this way:
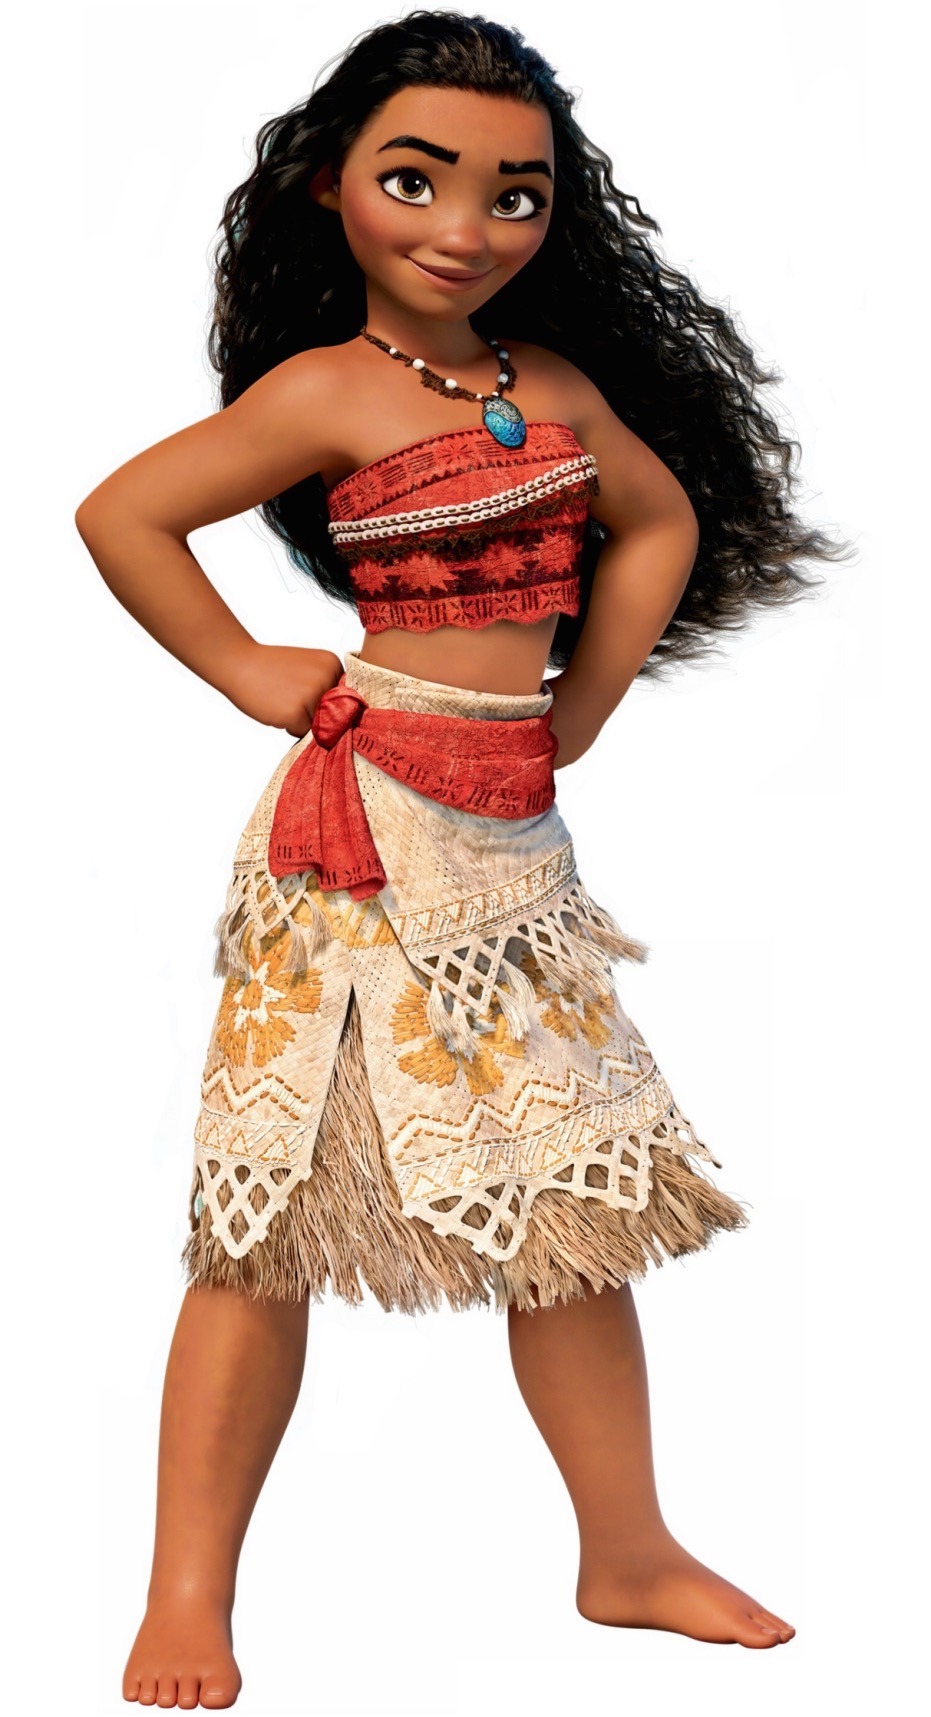
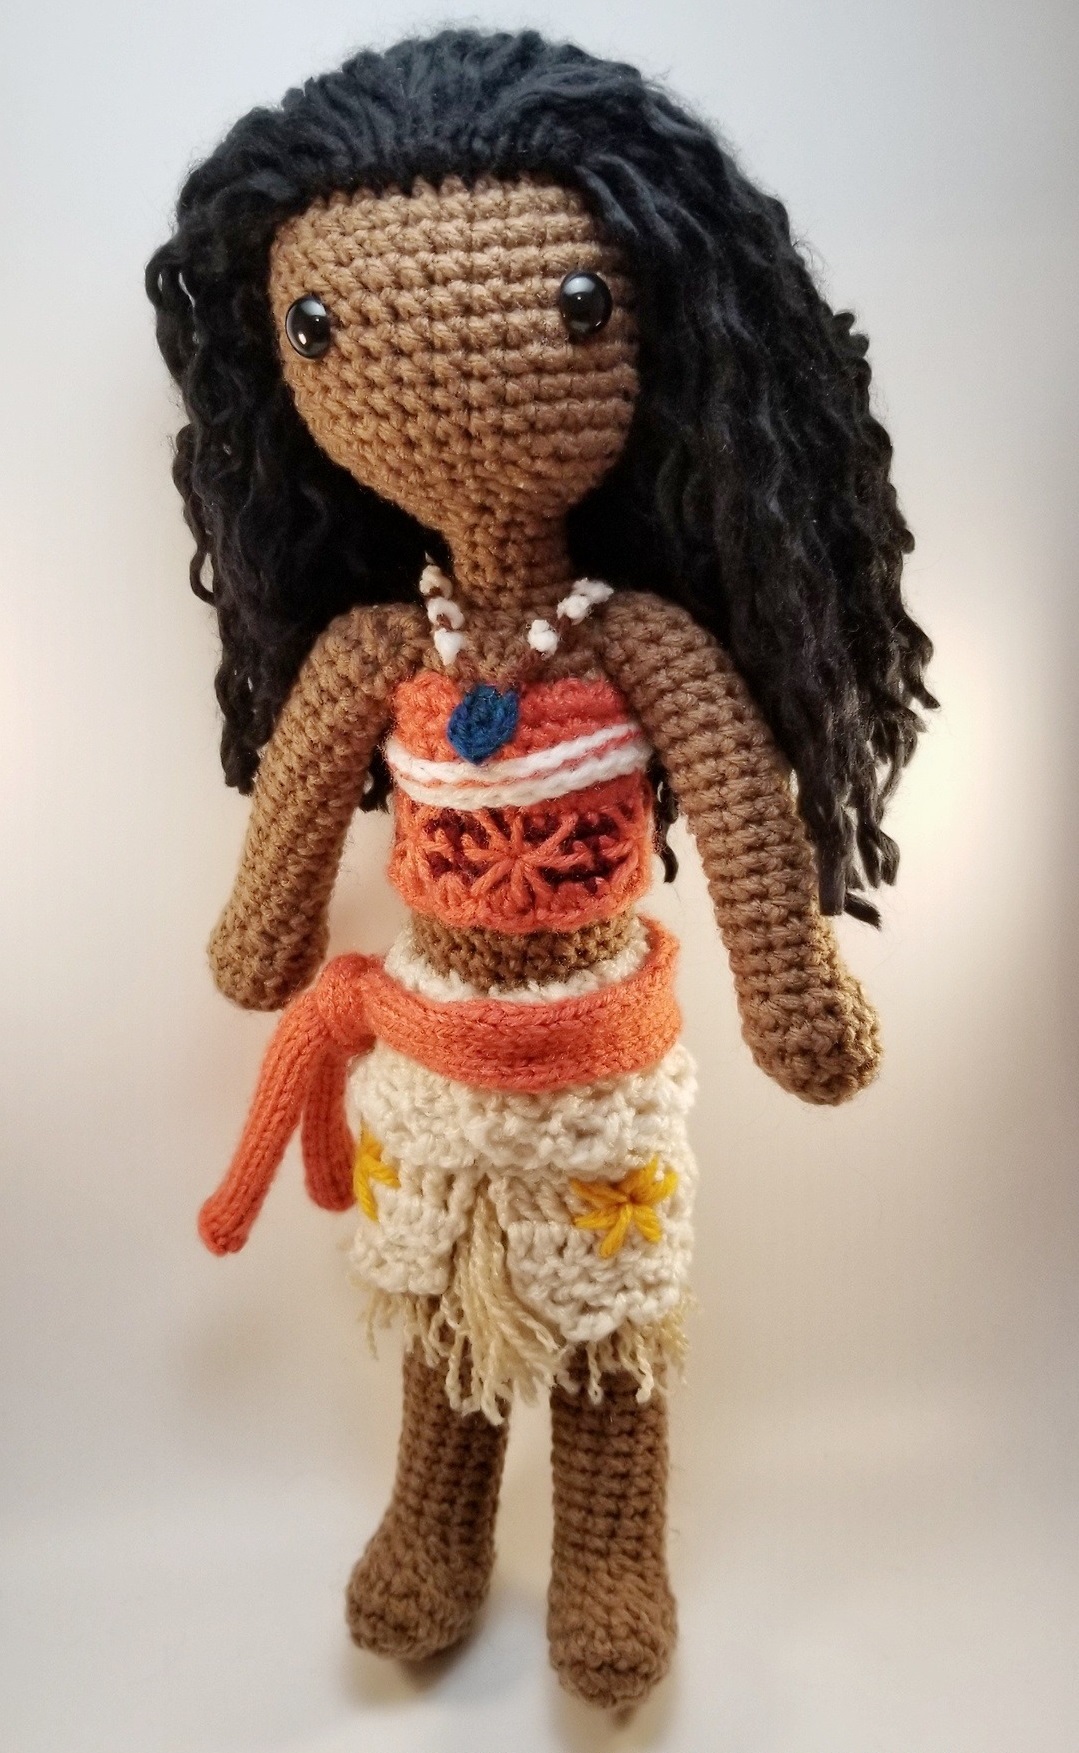
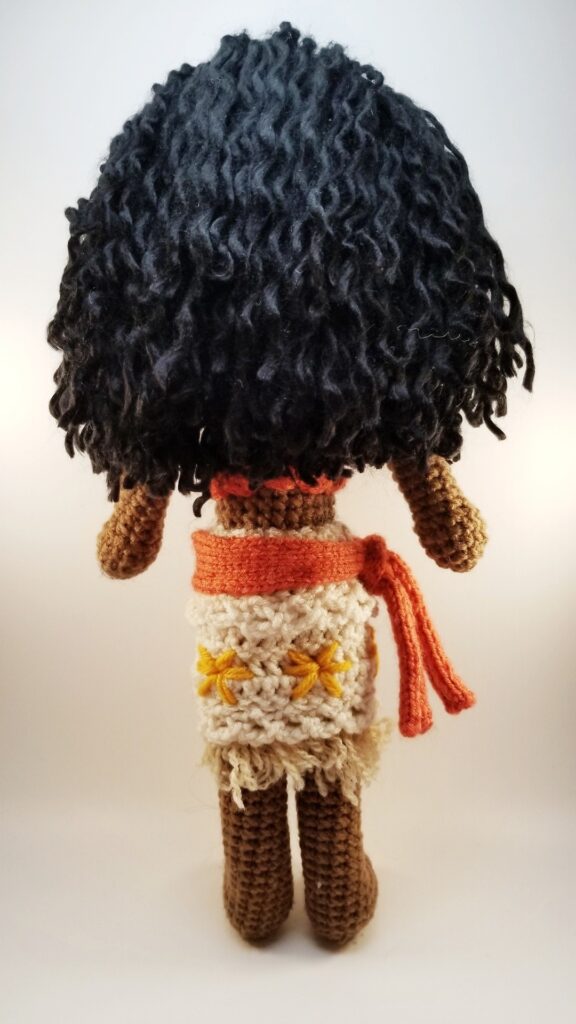
Technique:
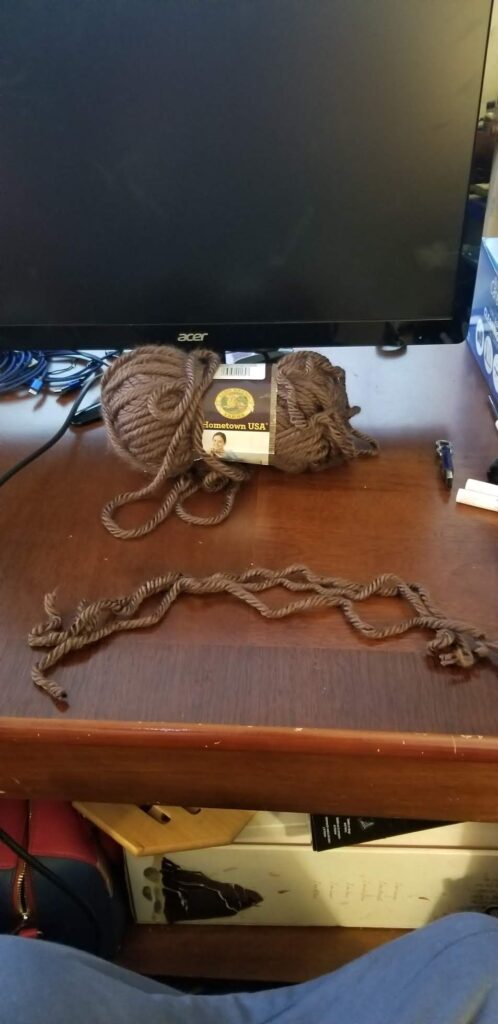
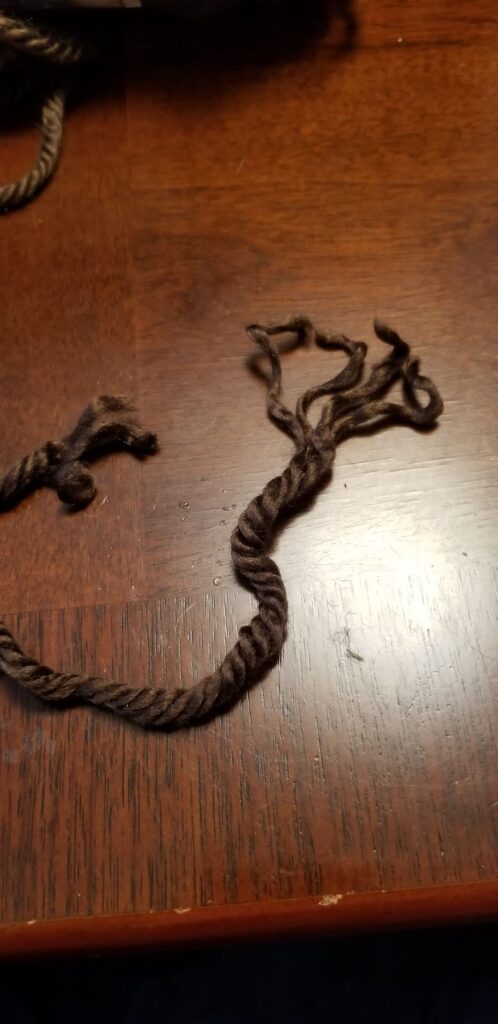
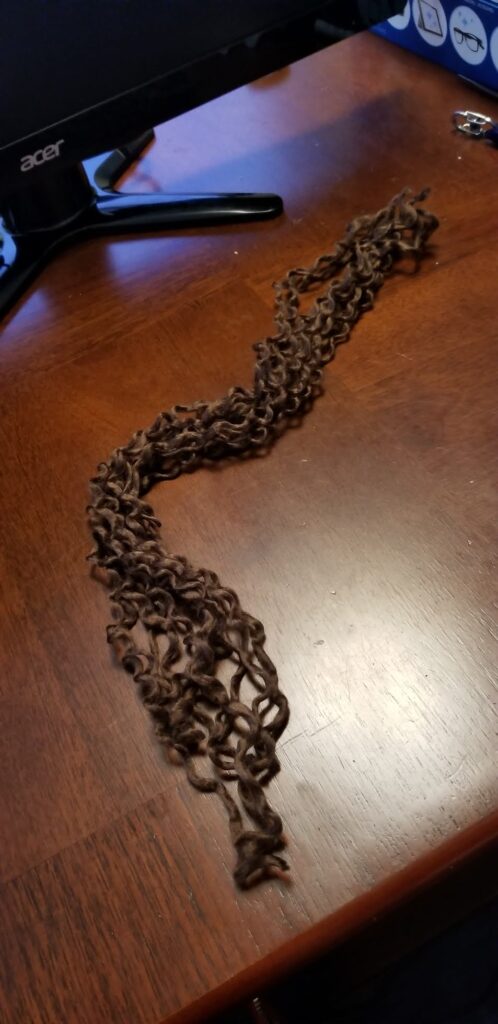
Take your thick yarn, and cut it into pieces twice as long as you want the hair to be. You’ll want to make it longer than you think you want the hair to allow for adjustment and styling. You definitely don’t want to go through everything and it ends up too short! Now pull it apart into its component strands. You can see already that it is looking very curly.
Now you will attach it to the head. Jareth will once again act as my model. As I said in the previous tutorial, you should make the part of the head under the hair is the same color as your hair. This will help your hair look filled in. Instead of the tan, you’d want that to be a darker brown.
First, insert your hook between two stitches. Hook the center of the piece of hair in the middle and pull a small loop through. Now grab the rest of the yarn and pull it through the loop.
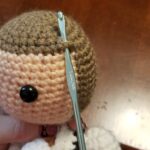
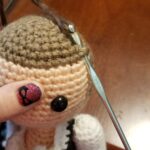
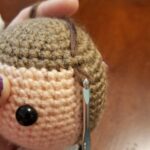
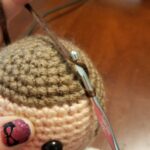
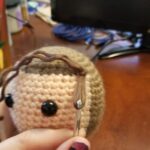
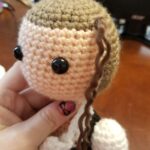
Now you just fill in some layers across the head and it very quickly looks like a head of nice gentle curls:
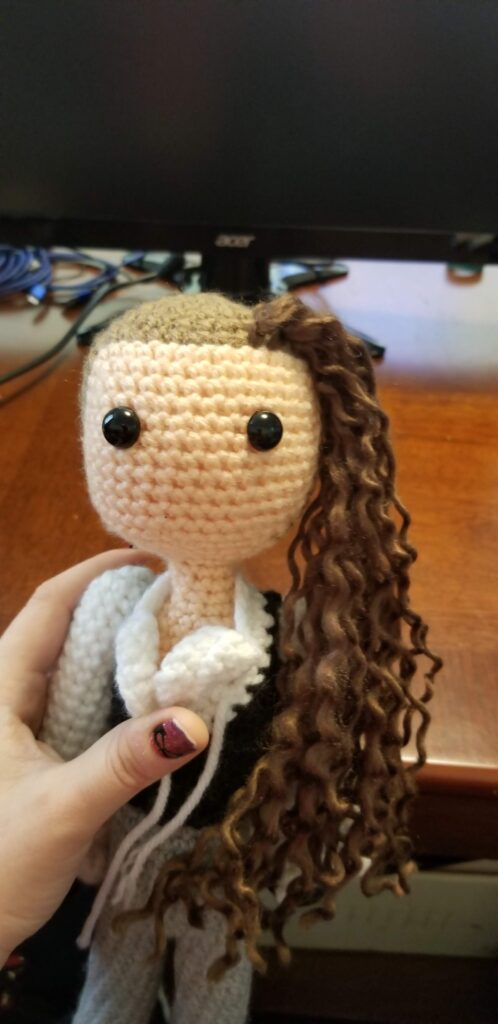
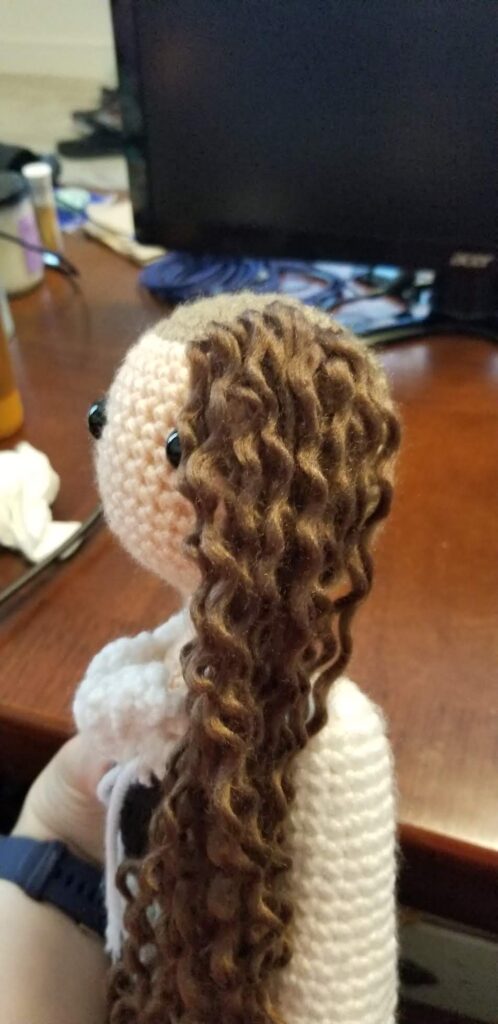
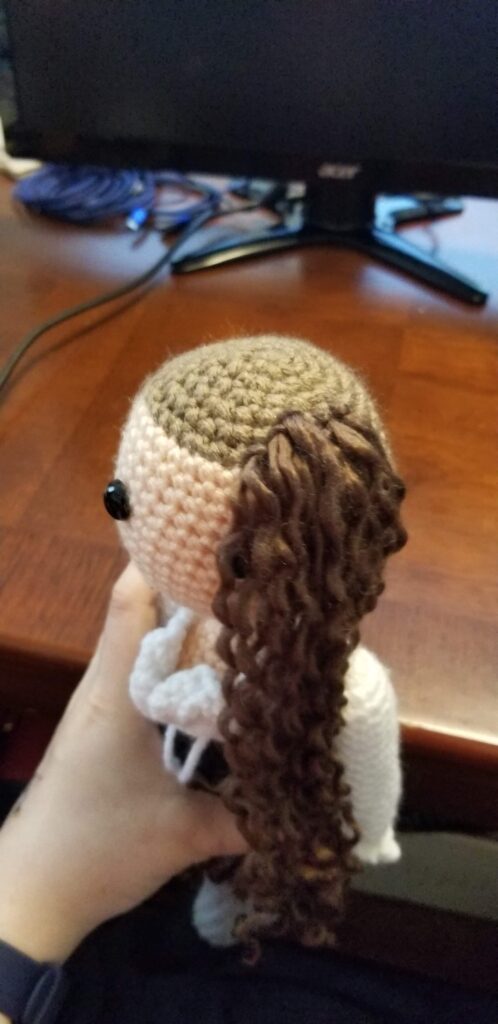
And it’s just that easy! Fill in the rest of the hair. I usually do the hairline and down the sides of the head where the color changes, then start from the top. You don’t necessarily need to cover the entire head to have enough hair to have it lie right across the back of the head and look complete.
Curly Hair
To start with, a lot of credit goes to 53stitches for her curly hair tutorial here. My method is really a variant of her method, changing some things about how to prepare the yarn and how to apply the heat to get results I personally liked better. Thank you to 53stitches for writing that tutorial! Part of why I wanted to write this series is to pay forward the help I’ve gotten from tutorials others put time into.
This is when you want full on curls:

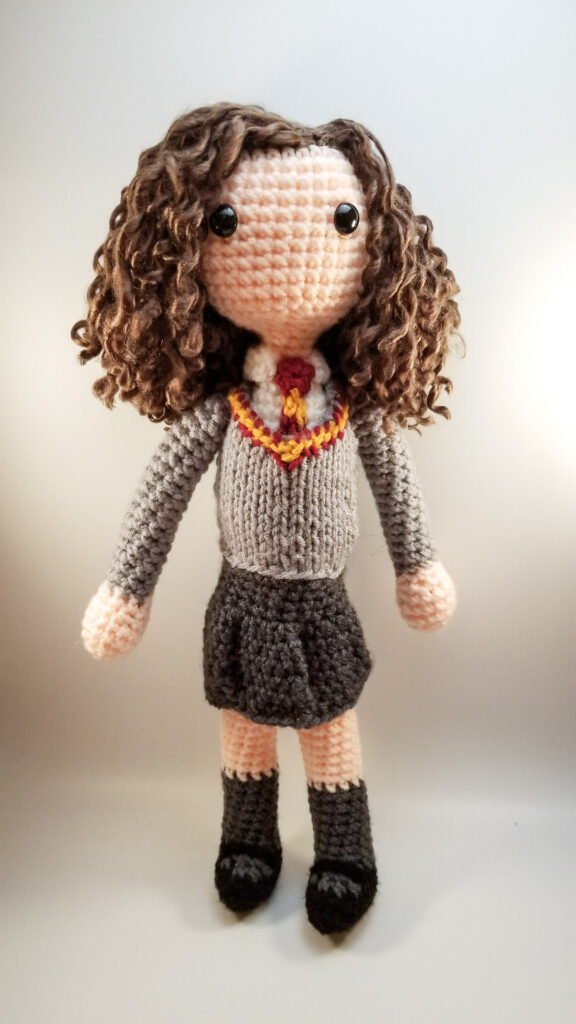
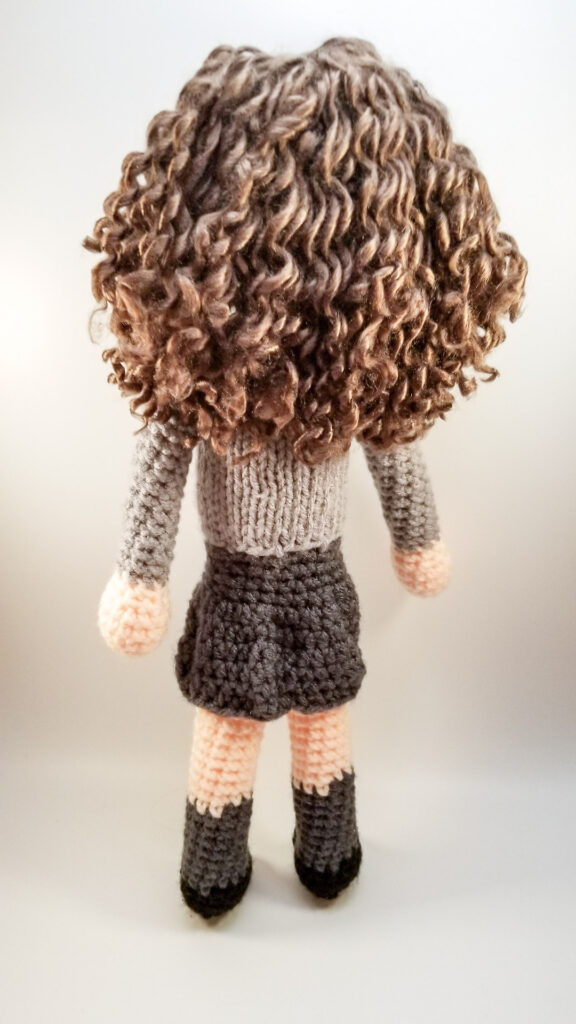
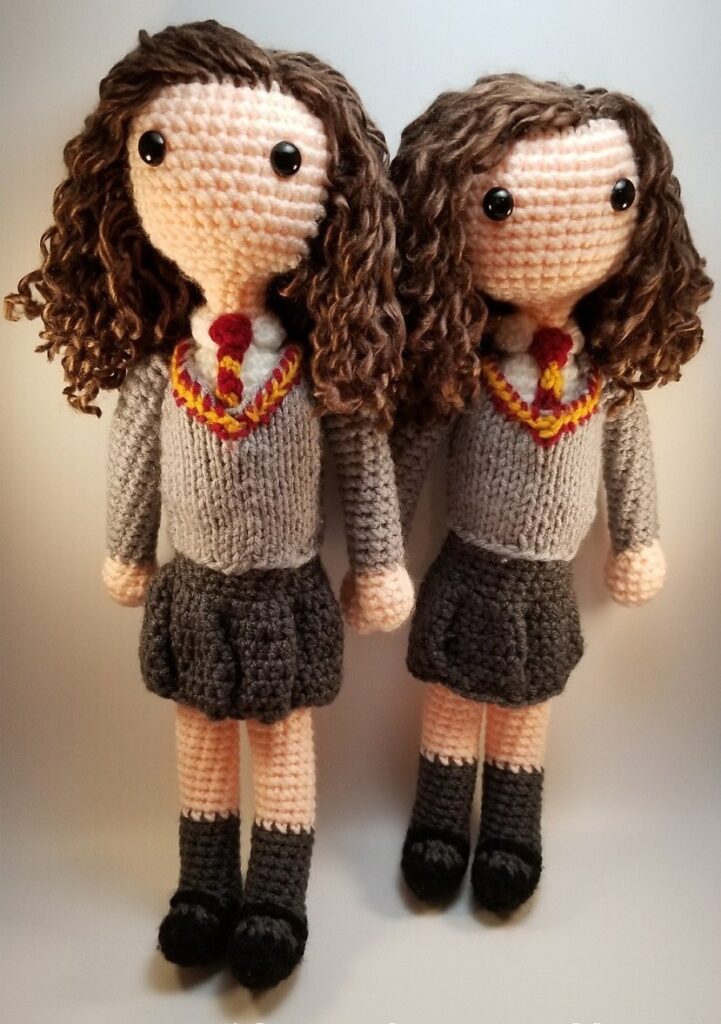
Technique
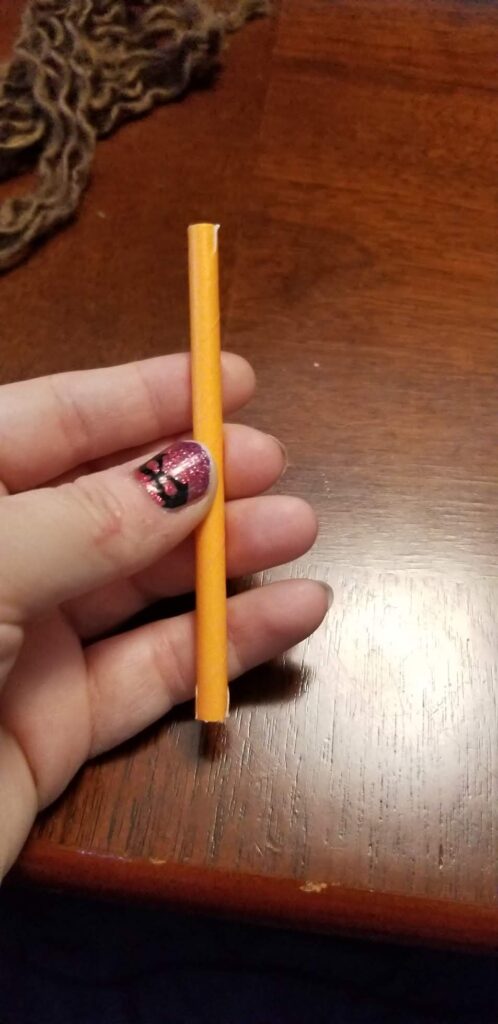
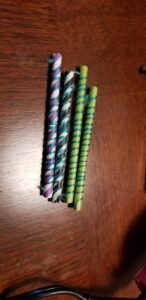
The most important component here is paper straws. DO NOT USE PLASTIC. You will be applying heat to it. Paper straws can be acquired through amazon. Don’t get any with the metallic finish – I haven’t tested but I’m not sure if the coating could handle the heat.
I cut some of my straws in half so I could make tighter curls. If your yarn wrapped around the straw is not bunched as tightly, your curls will not be as tight. Experiment some to find your sweet spot.
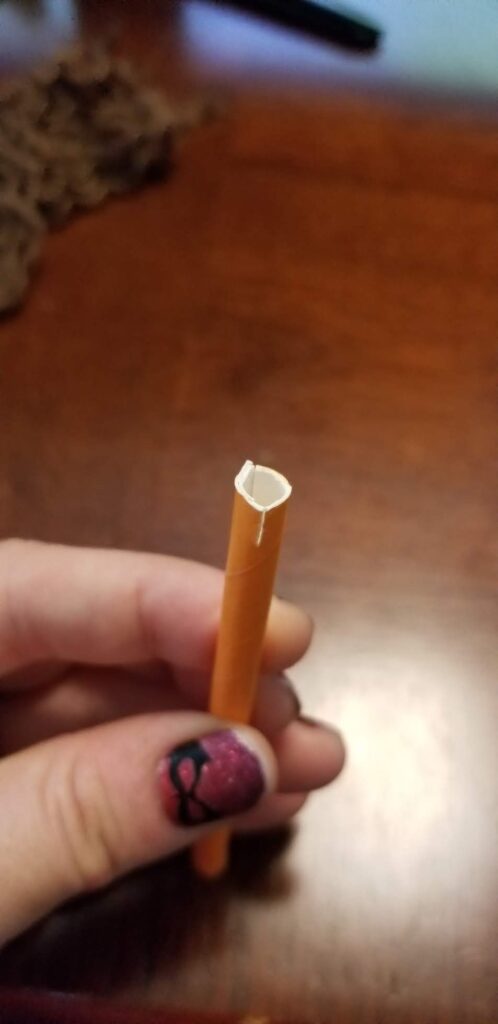
I also made notches using an x-acto blade to make it easier to wrap and hold the yarn:
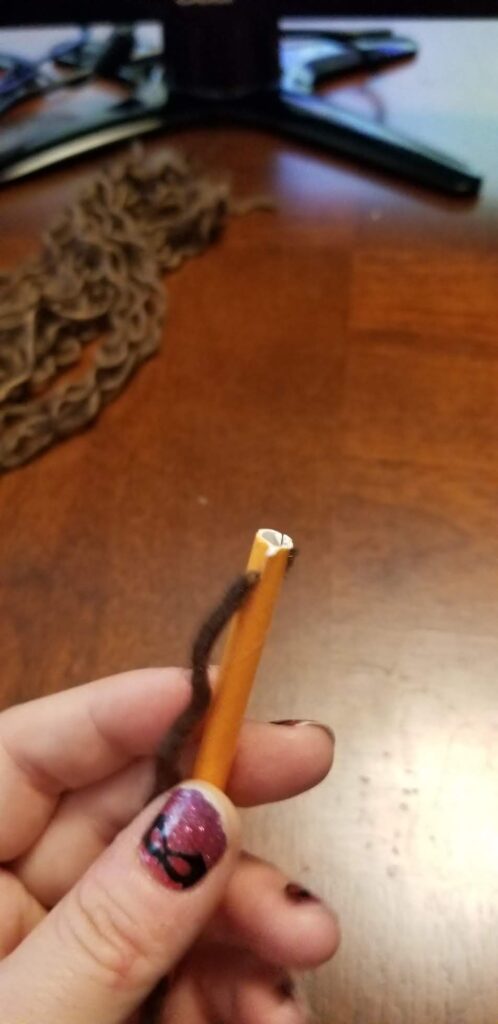
Now wrap the yarn around the straw and put it through the notch at the bottom when done. You might need to push your loops closer together if you can’t fit it all on the straw, or use a bigger straw (like I said mine are cut in half):
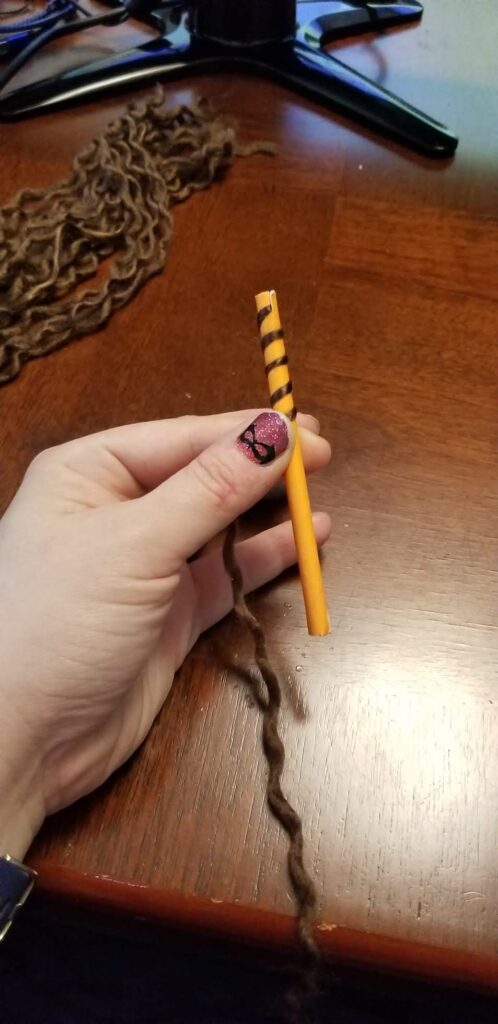
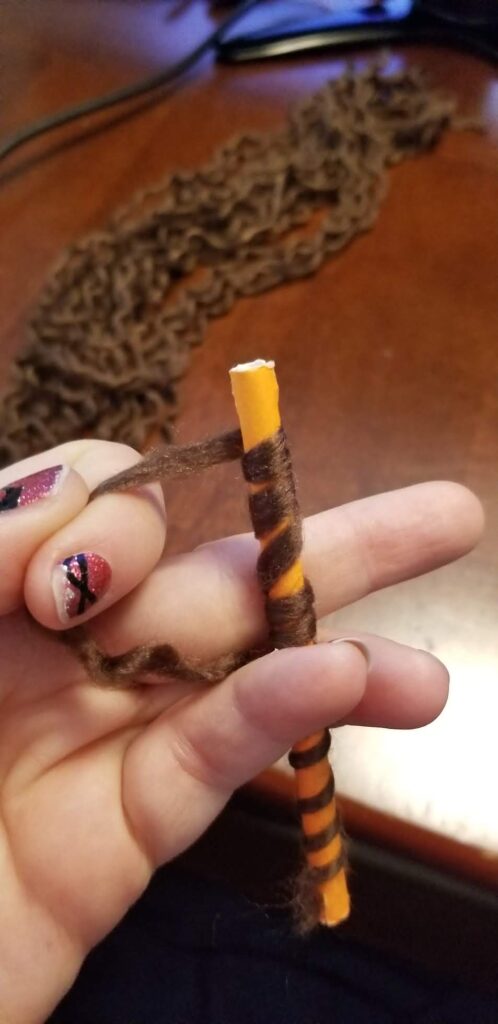
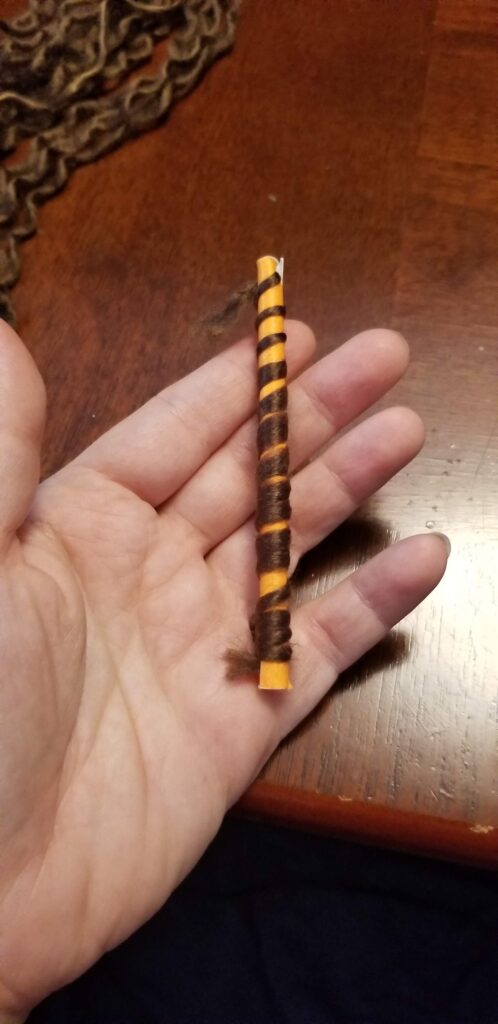
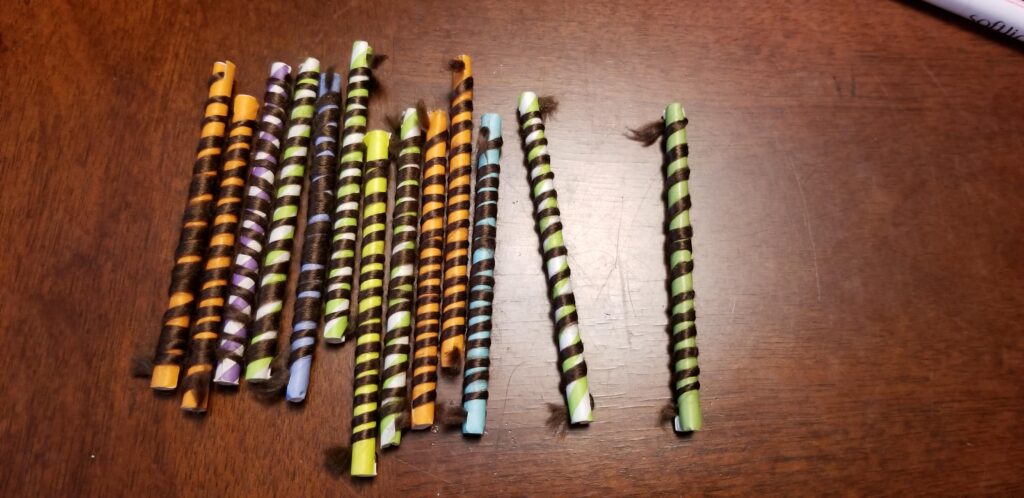
Once you’ve prepared a bunch, now is the time to break out the hair iron. Instead of just running the hair iron over the straw/hair, you’re going to want to rotate the straw as it goes through, to make sure you get to all of the yarn. You should run it through twice – you really want the yarn to be exposed to the heat to melt a little and hold in the right position.
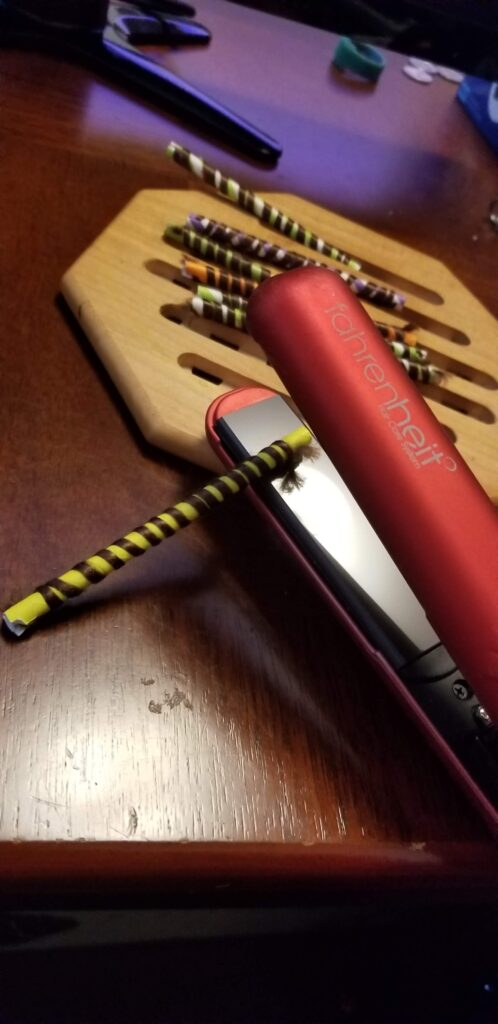
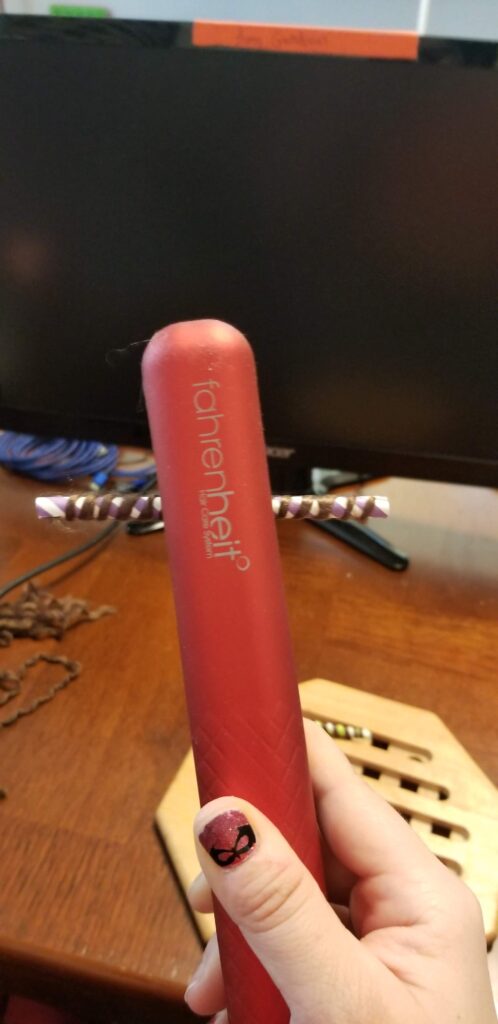
Once you’ve heated the yarn you can unwrap it from the straw. Unhook the yarn from the notches at both ends then slide it off the straw. It will come out really tight, you can gently pull it to open the curls:
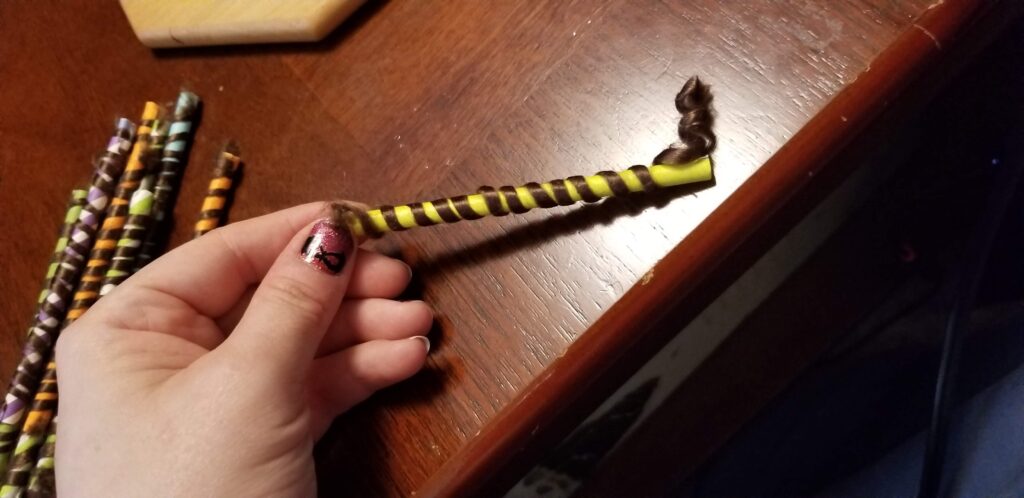
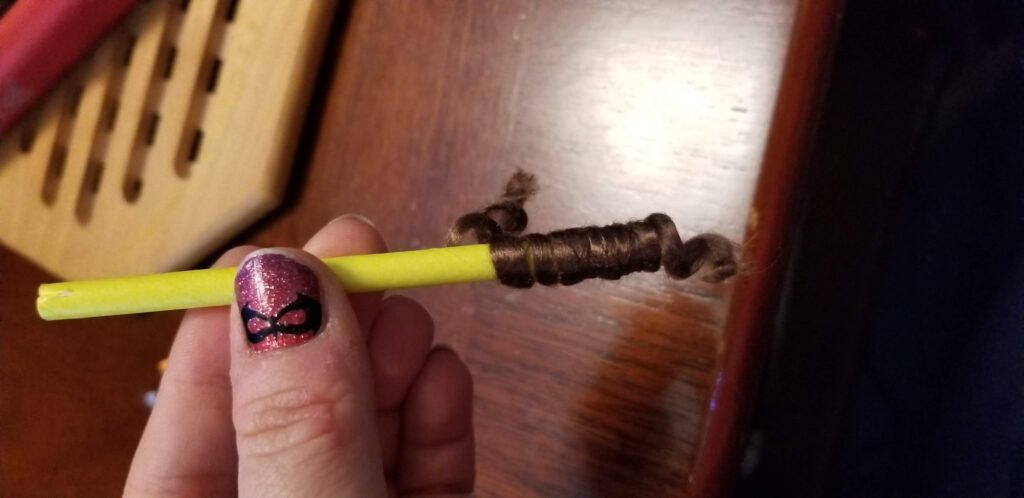
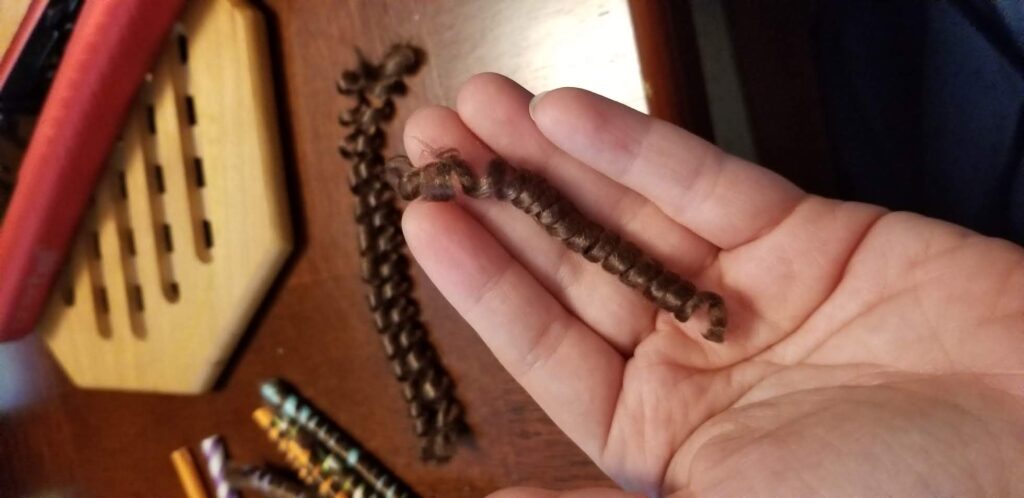
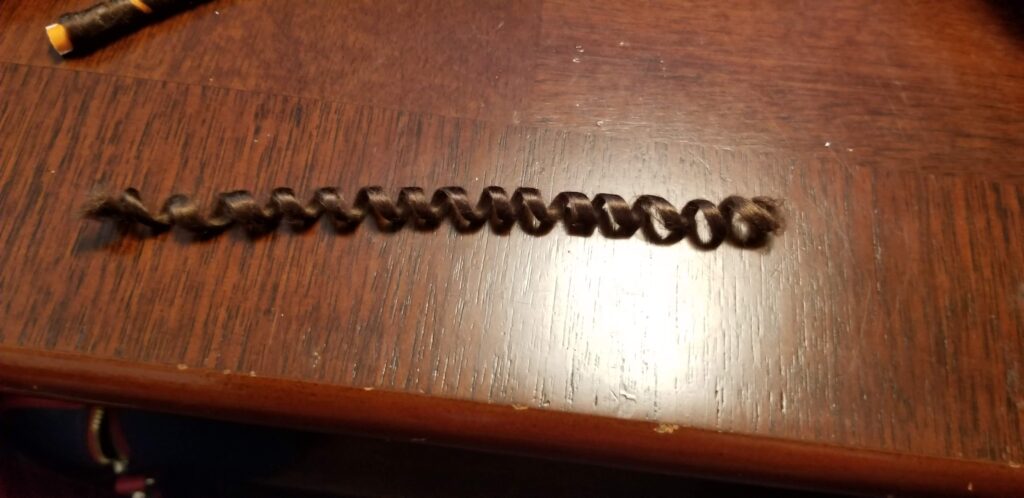
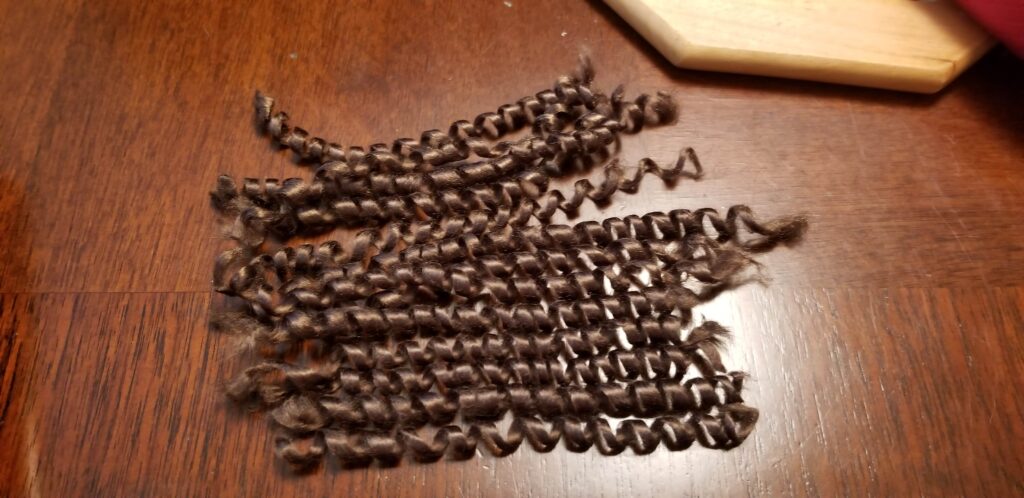
You’ll want to cut off the ends where it was notched in, so that your ends are nicer:
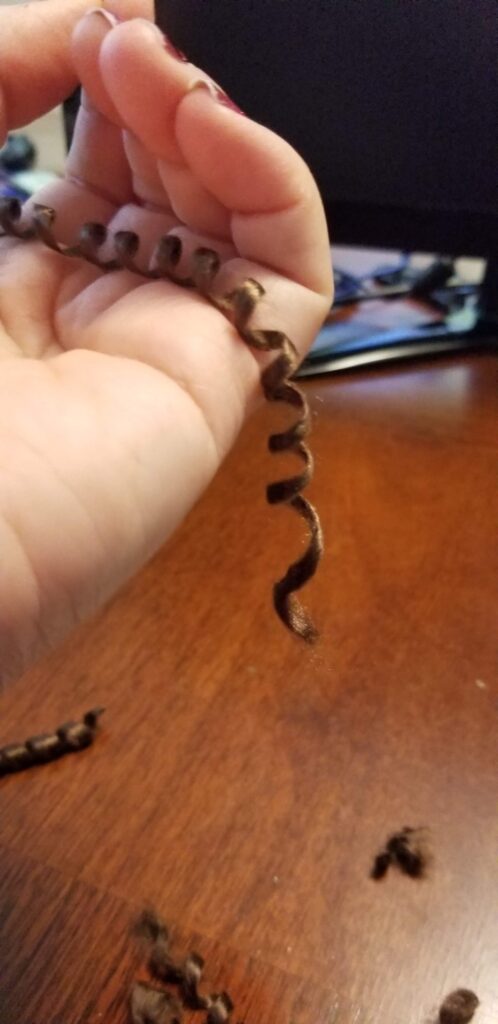
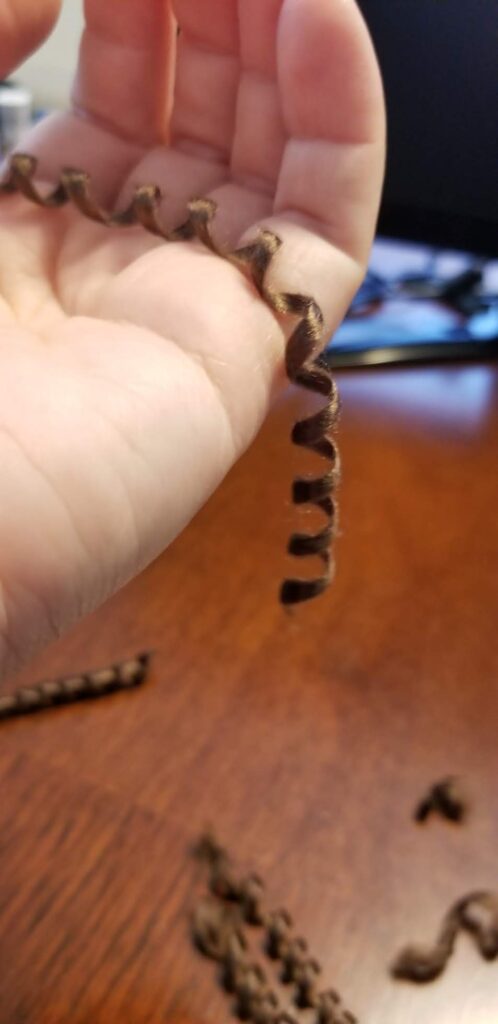
Now you’ll attach it to the head with the same technique as before:
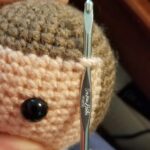
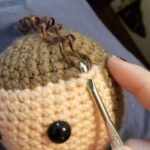
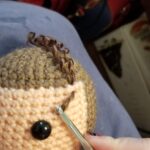
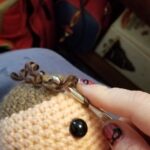
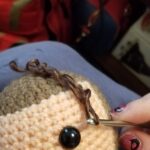
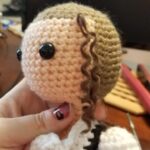
And then you’ll get a nice head of curly hair. You can gently run your fingers through it to settle the curls:
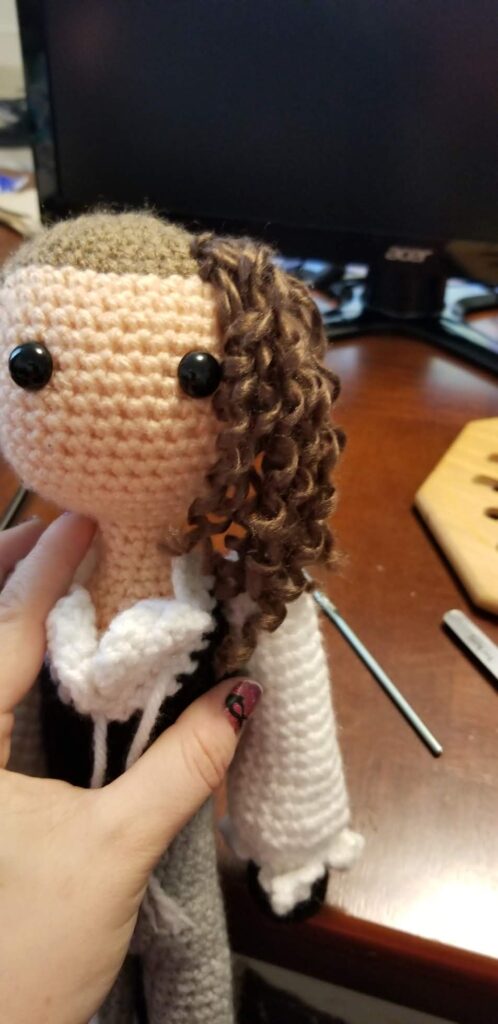
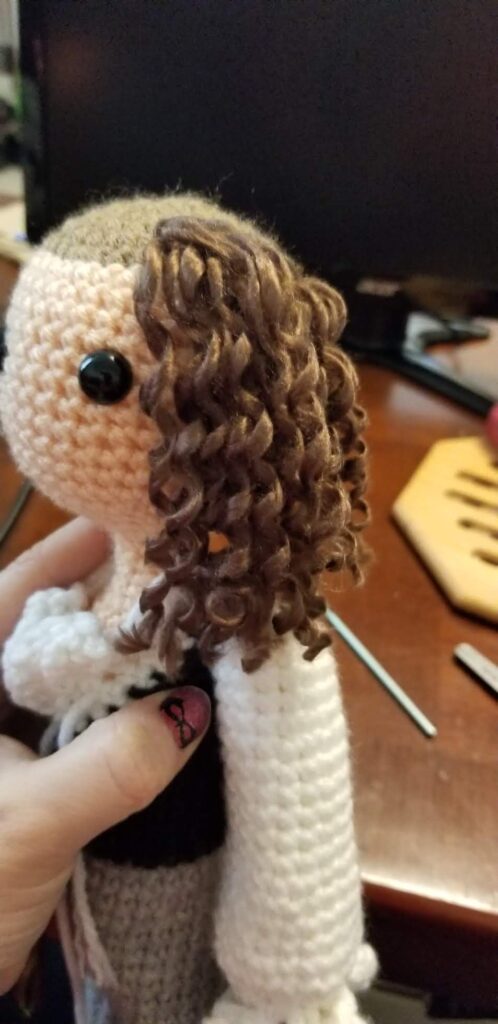
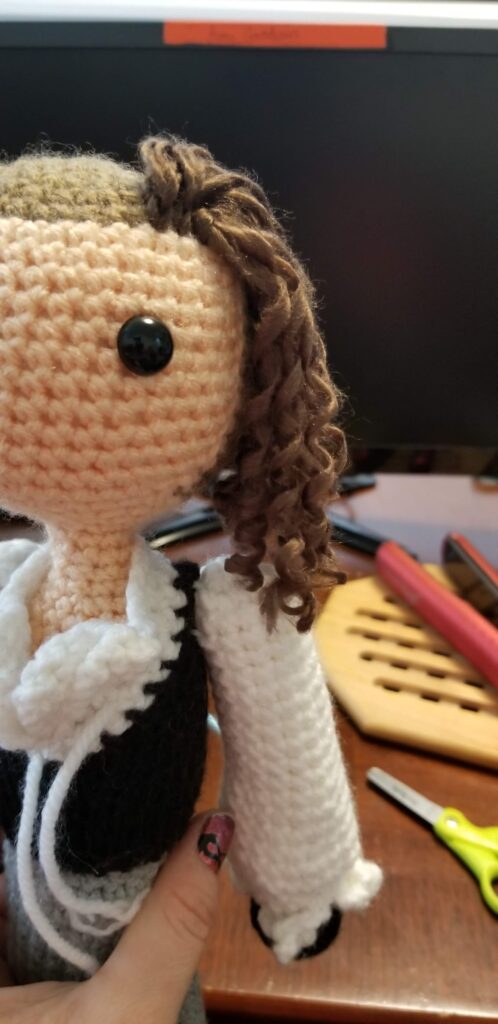
And like before, I recommend doing the hairline at the top and sides of the face, then start adding yarn from the top until you feel like the you’re happy with how full your doll’s hair is.
As I mentioned at the top, it’s possible to do this with your normal weight yarn, but I’d only recommend it for smaller dolls. You can see here that it will be difficult to get a full look with this on a larger doll, and it would probably tangle. But if you’re using it for a limited area, like curled bangs, it can still work well:
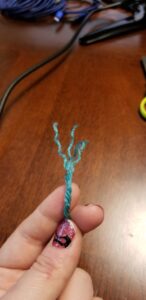
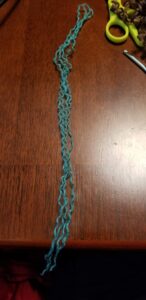
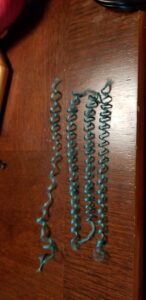
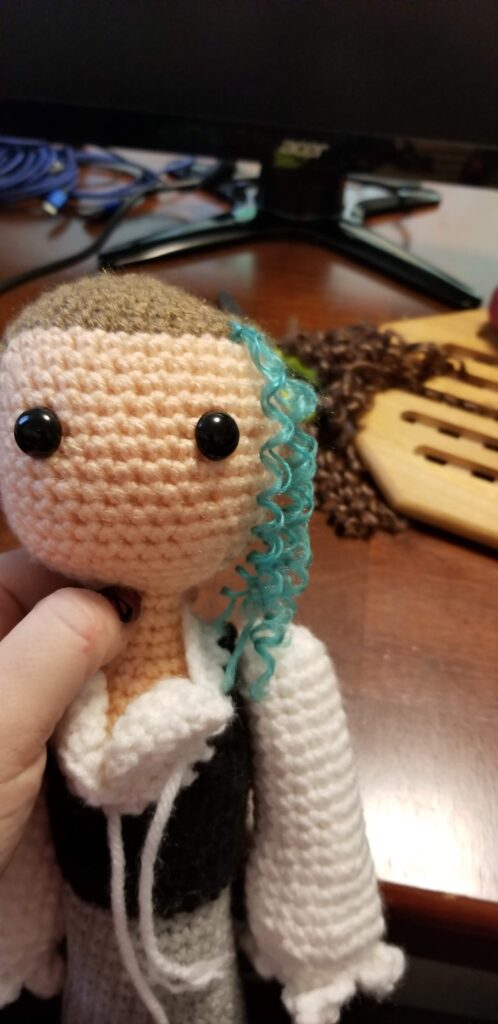
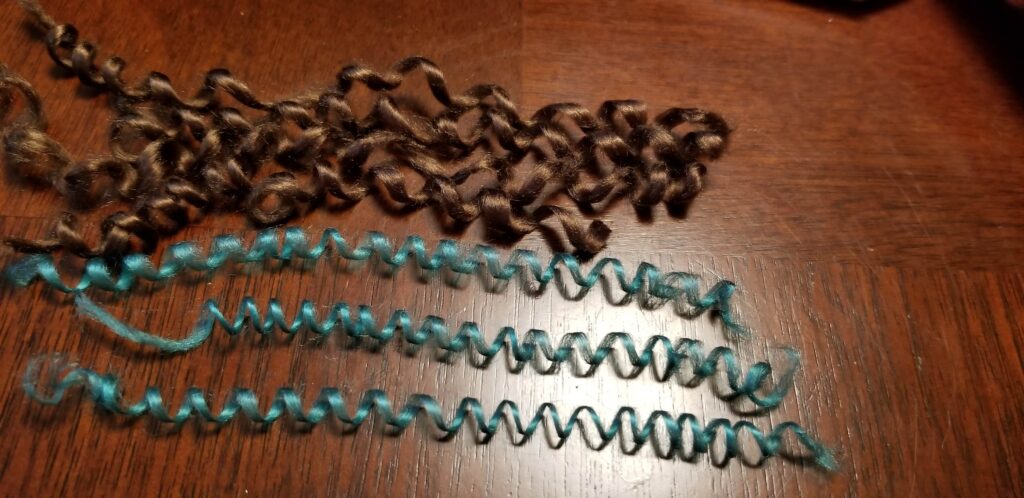
Here you can see the comparison between the two yarn weights:
Enjoy, and let me know if you have any questions. Stay safe out there, and remember to wash your hands constantly!
Hi! Great cut,s technique! Do the curls stay put? Did you spray them with hairspray?
Thanks!
Lynne
They usually do stay put since you’re actually melting the acrylic yarn, though they will pull straight depending on the amount of play the doll gets. Hair spray can definitely be used effectively too – like when I made Captain Marvel with her mohawk, I used hair spray to keep it standing upright and it’s still standing up the same a year later.